快速发布开源库到JitPack
JitPack官网地址:JitPack
下面就新建一个测试开源库然后一步步演示如何发布并使用一个开源库
1. 首先用android Studio新建一个工程,添加要发布的module
这里说一点命名的问题,一般来说要分享一个module,会给module起个简洁的名字,然后管理module会起一个长一点的名字,比如module叫Test,项目名称叫TestDemo,这样如果是上传JCenter完全没问题,引用的时候还是引用的Test,但是在JitPack上面就会变成要引用TestDemo了,虽然内容是只有Test的内容,但是看着很奇葩啊,所以大家注意把项目名称起好一点,module随意.
这一步结果如图:项目名叫Test,存放开源库内容的module叫TestModule(AS显示的时候是忽略大小写的)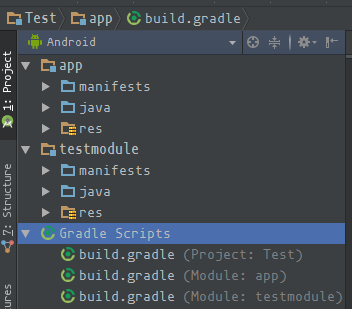
2.书写开源库内容
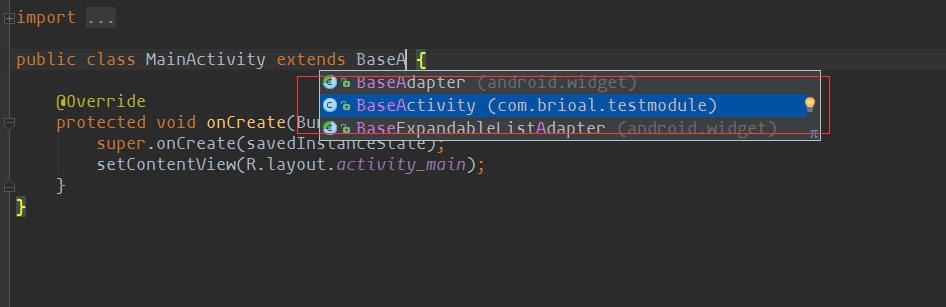
这一步没啥说的,要开源什么就写什么呗.我这边就写个BaseActivity一会测试依赖是否成功.
这一步结果如下:

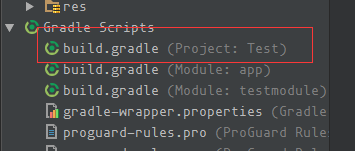
3.在项目的build.gradle内添加内容
位置如下:
添加一句
注意:这一步是添加maven的构建插件,后面的版本号要是最新的.因为我之前网上搜的都是1.3,然后后面的步骤总是报错不成功,所以建议写最新的,查看最新版本去它的Github上看:android-maven-gradle-plugin
原本内容如下:
添加后的内容如下:
添加之后会有提示让你Sync,按提示同步一下
4.在要开源的module的build.gradle下添加内容位置如下:
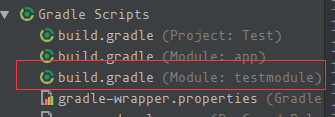
内容在头部添加,原本的内容是这样的
添加后的是这样的
现在又会出现提示Sync,再次同步
如果没有出错的话本地的配置基本已经成功了
接下来要将这个项目放到Github上,这大家应该都会,但我还是演示下如何用AS快速发布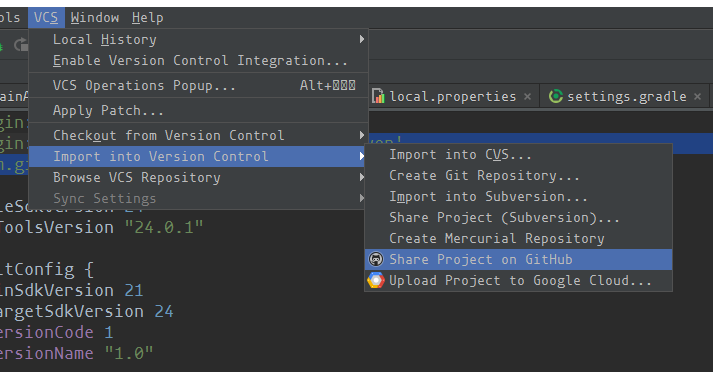
如果AS还没配置过Github的话点击这个会让你设置Github帐号,我这边已经用过所以直接验证密码就行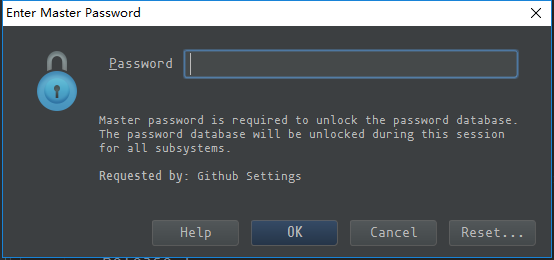
注:这些操作的前提是Git已经配置好了,如果Git没有配置好这一步会出错,建议百度先把Git搭建好
上传成功之后会在Github上看到刚刚上传的项目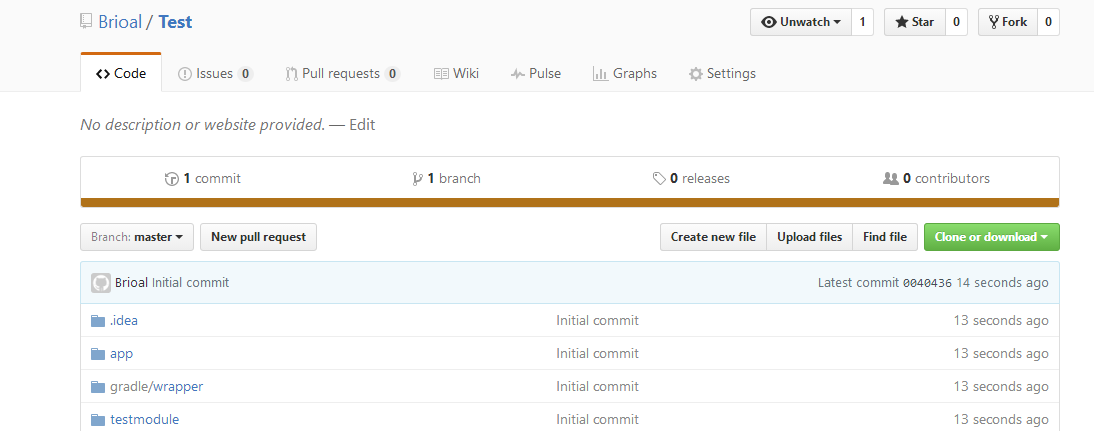
5.给项目添加一个Tag
点击如图所示位置: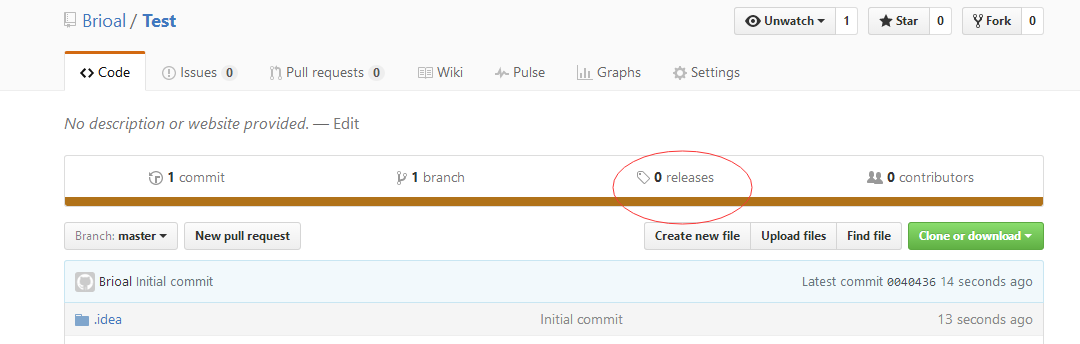
显示没有Tag,然后点击新建
我这就随便填个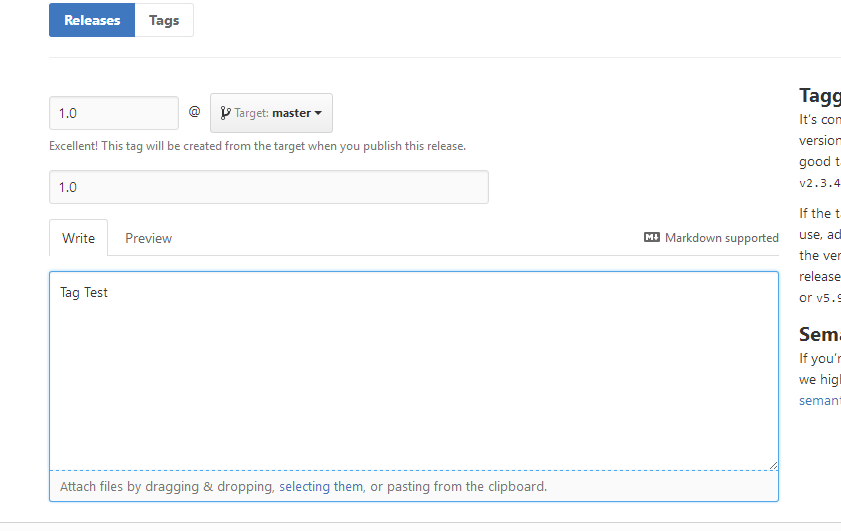
点击下方的Publish即可完成创建,成功之后界面如下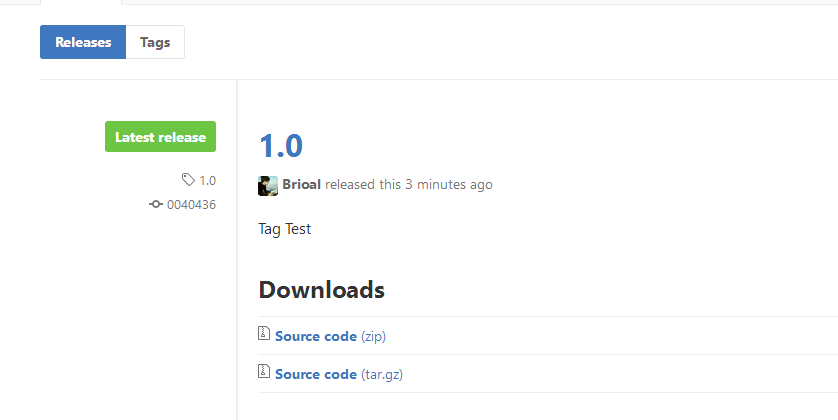
现在我们的开源库已经可以被使用了,这时候应该获取使用的方式并添加到readme中
打开JitPack主页,将你的项目的Gihub地址复制到这并点击look up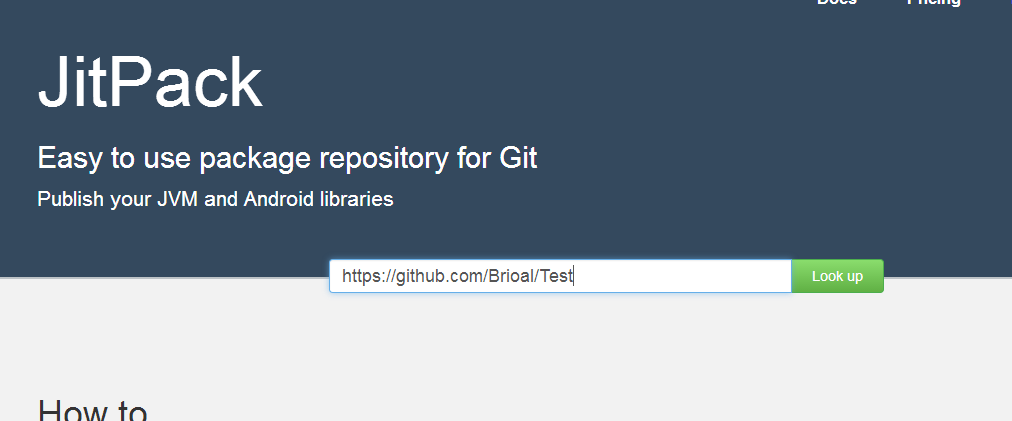
如果前面没有问题的话现在可以看到我们之前写的Tag号,点击get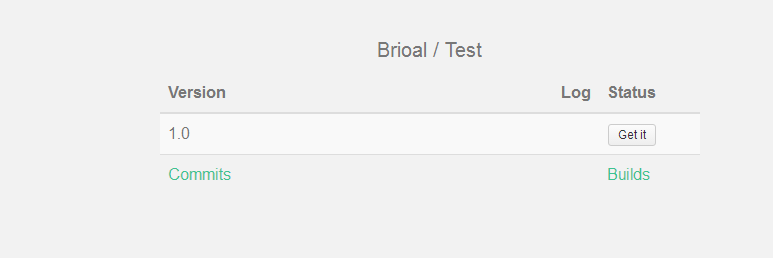
会自动跳转到使用方式,如下: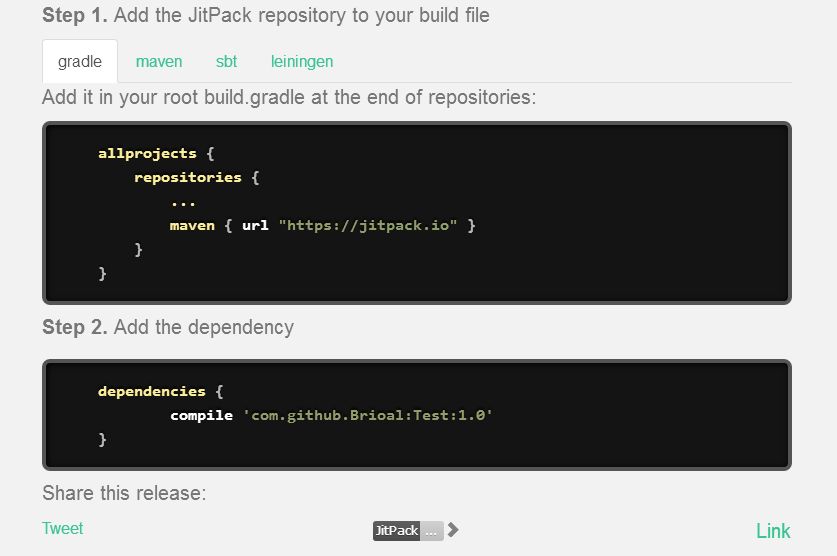
步骤已经很详细了,现在我就来新建个项目测试一下
直接跳过新建项目
1.第一步在项目的build.gradle下配置
位置如下: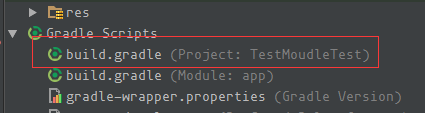
|
|
第二部,在app的build.gradle下添加如下
会提示Sync,按提示同步一下
测试依赖是否成功